make Negative Image Snowflakes
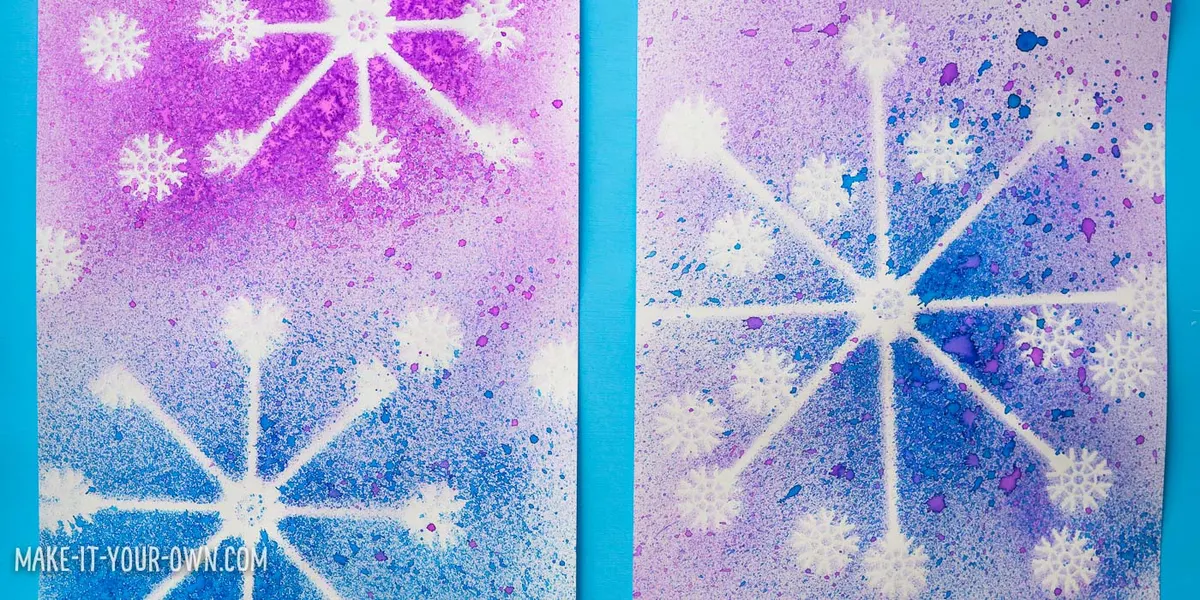
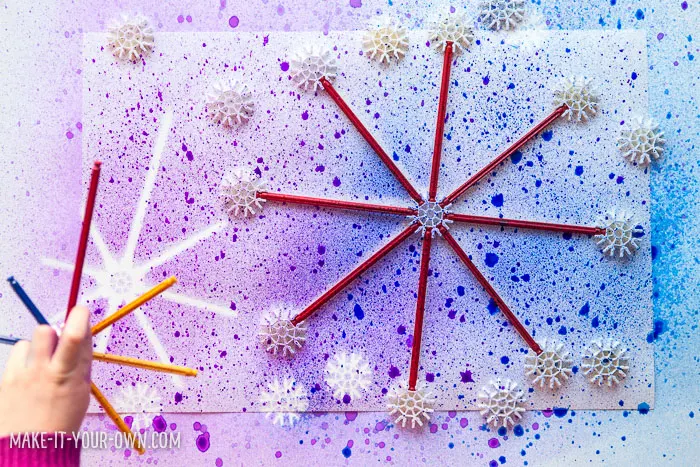
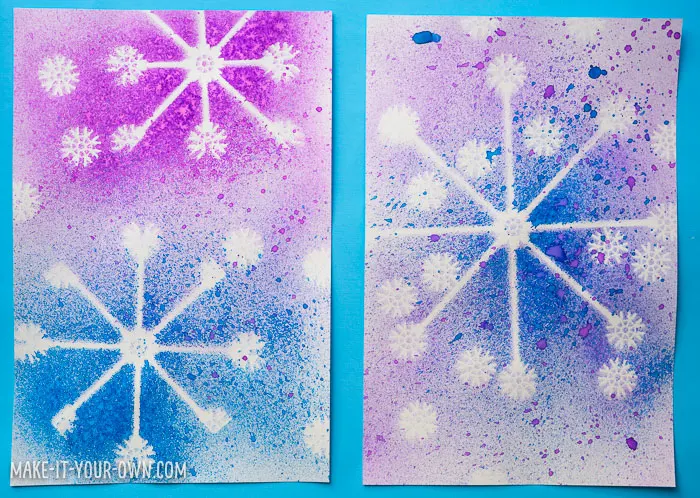
Do your kids or students play with K’NEX? Our daughter thought of this idea while building K’NEX snowflakes. We simply sprayed over the toy snowflakes and then removed them, creating a negative image of the flakes in the process!
you'll need Materials
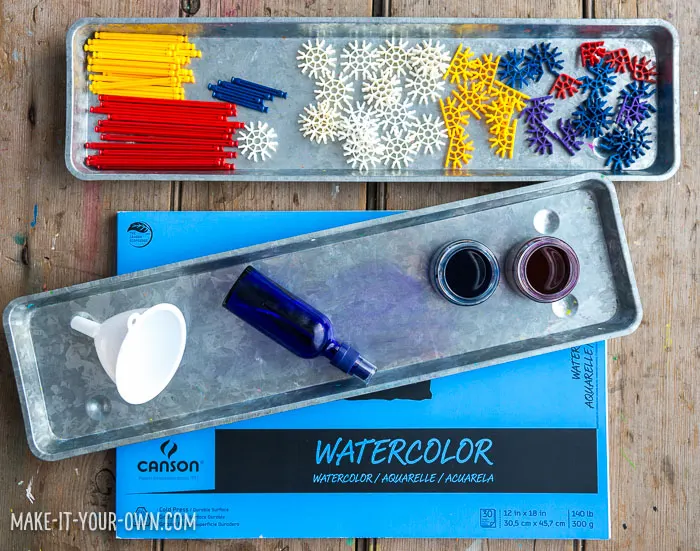
- K’NEX
- Liquid watercolour paints
- Funnel
- Fine mist spray bottle
- Watercolour paper
We always find these items helpful too:

- Smock
- Craft tray
Directions
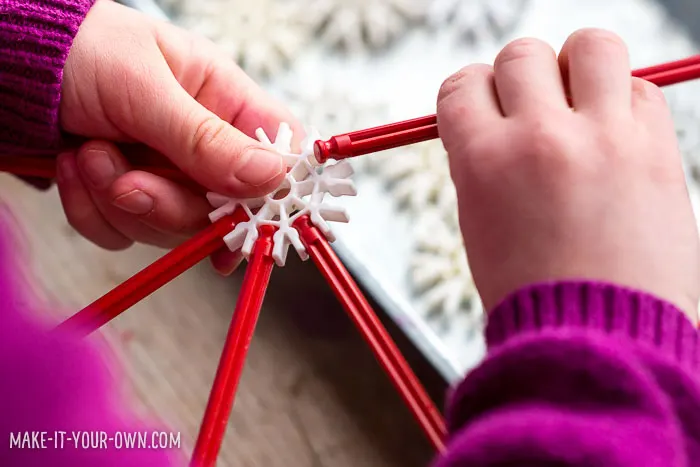
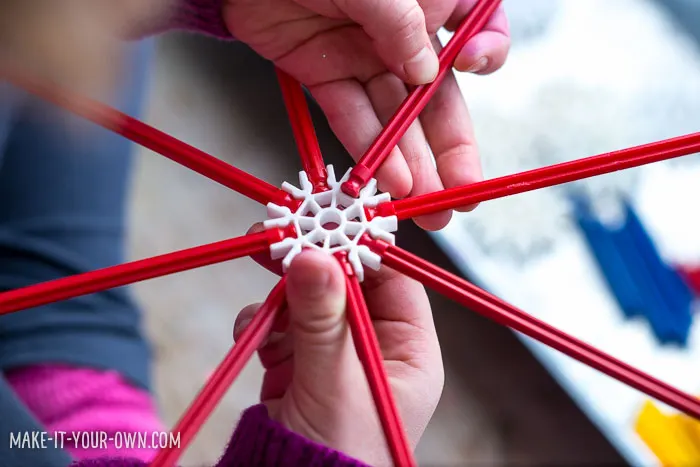
- Build your snowflakes- this is a great time to explore patterns with various attributes- colour, size etc..
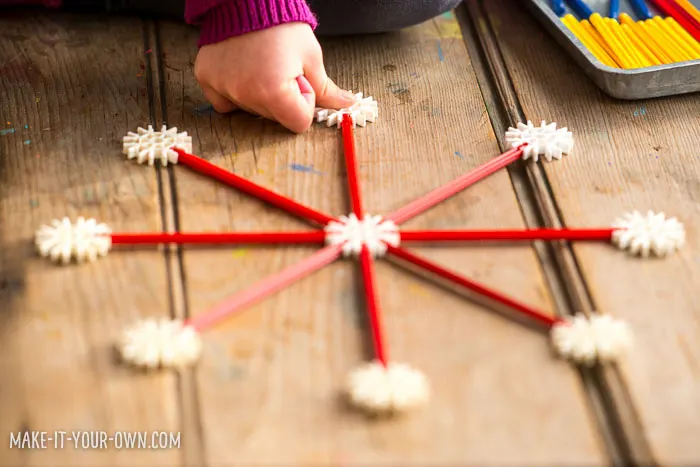
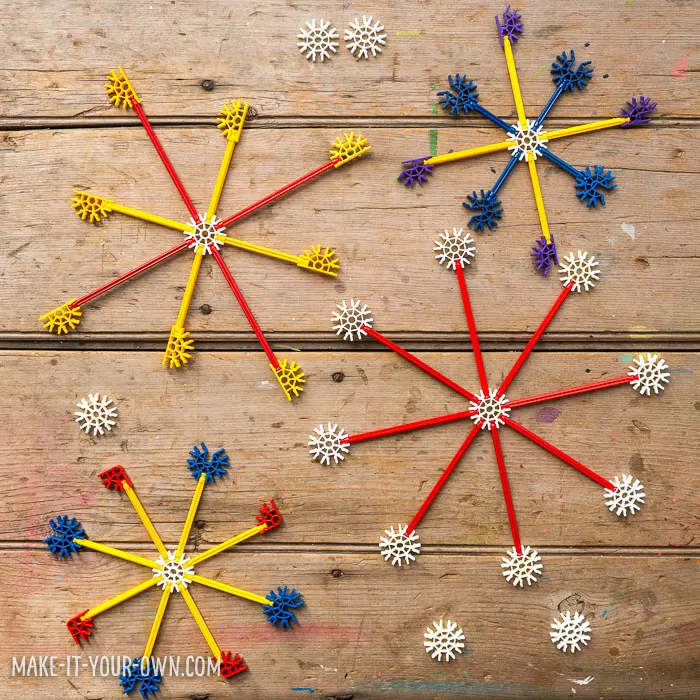
- Don your smock. Put your paper in your craft tray or on a craft table cloth. (We lied ours on a piece of poster paper so we could use that for another purpose.)
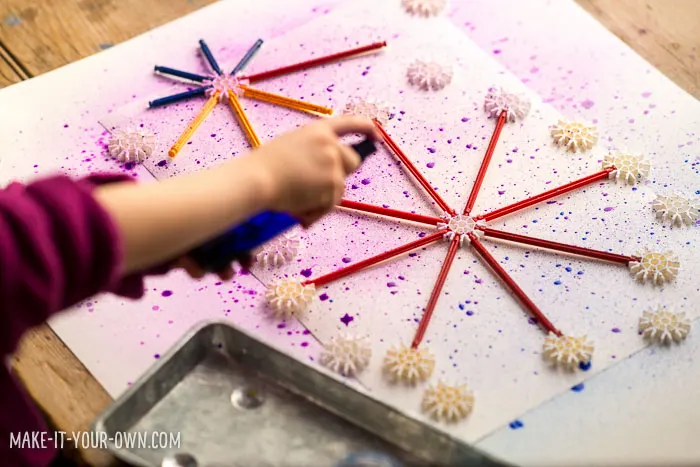
- Lay your snowflakes onto your paper.
- Insert your funnel into your spray bottle and add your paint.
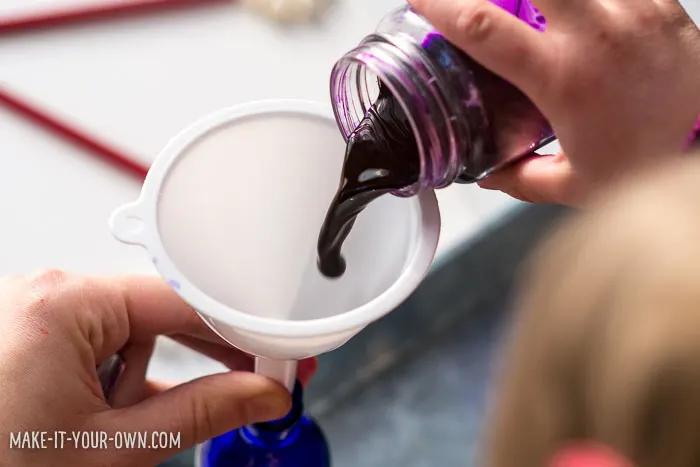
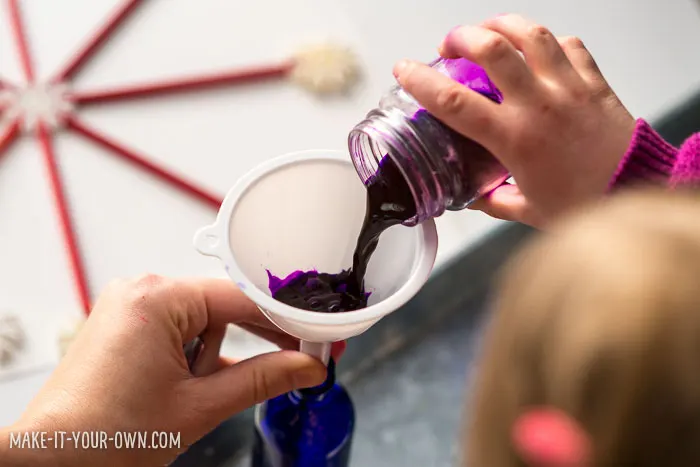
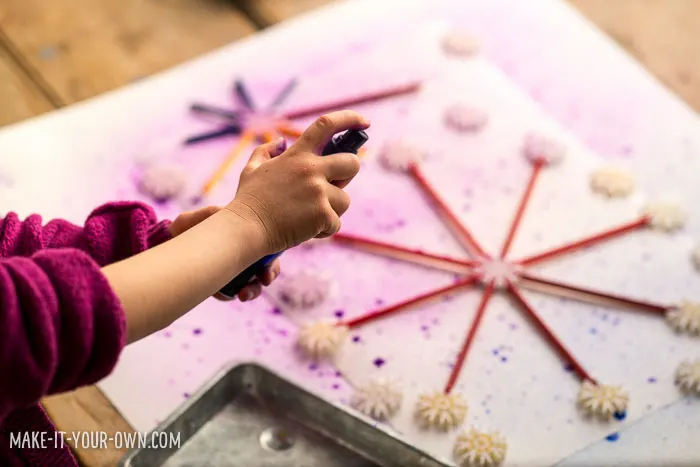
- Spray over your snowflakes.
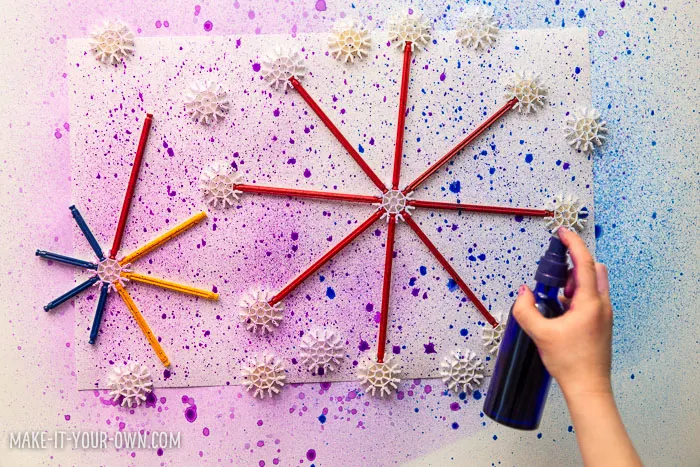
- Change colours in your bottle by pouring the contents back into the original container using the funnel and then adding the new colour through the funnel. (You can wash it in between if you like)
- Allow your work to dry and then remove your toy snowflakes, revealing the negative image!
Purpose
- Exploring patterning.
- Discovering how to create a negative image.
- Using a variety of tools and discovering how they function- in this case a spray bottle and funnel.
Safety Notes
- We suggest that you wear a smock and use a craft tray to protect your clothing and surfaces.