Celebrating Spring: Kid-Made Picture Frame
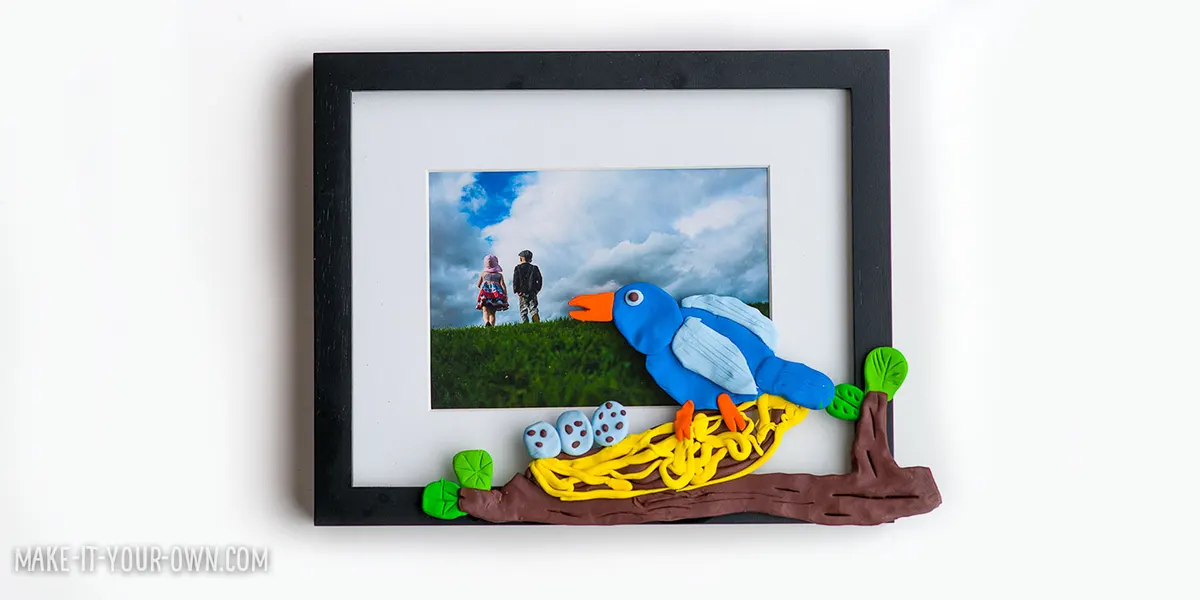
Make a nature-inspired frame based on your child’s drawing. (Or any theme of your choice!)
you'll need Materials
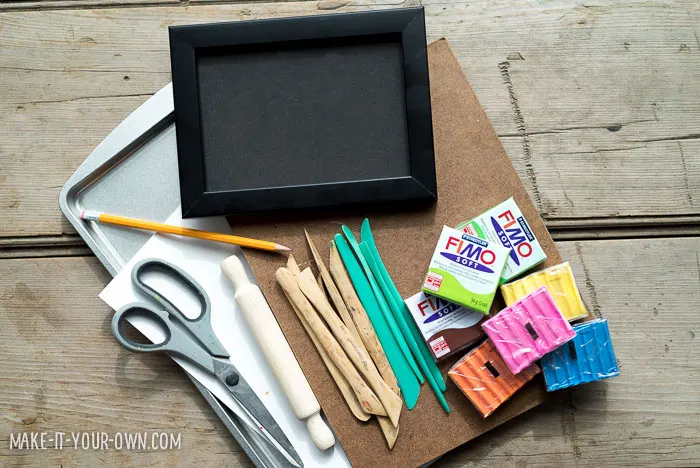
- Picture frame
- Polymer clay (Fimo, Sculpey etc. We recommend the soft version for kids)
- Clay board
- Clay tools
- Paper
- Pencil/eraser
- Rolling pin
- Scissors
- Baking sheet
- Craft tray
- Smock
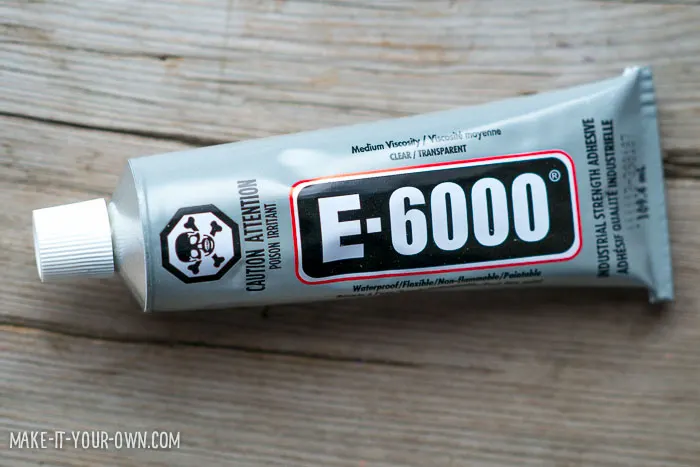
- Glue (the product featured above is only for ADULT use!)
Directions
- Sketch out an idea for your frame. (We went with a nature-inspired theme, but you could do anything- an urban scape of buildings, you and a friend etc.)
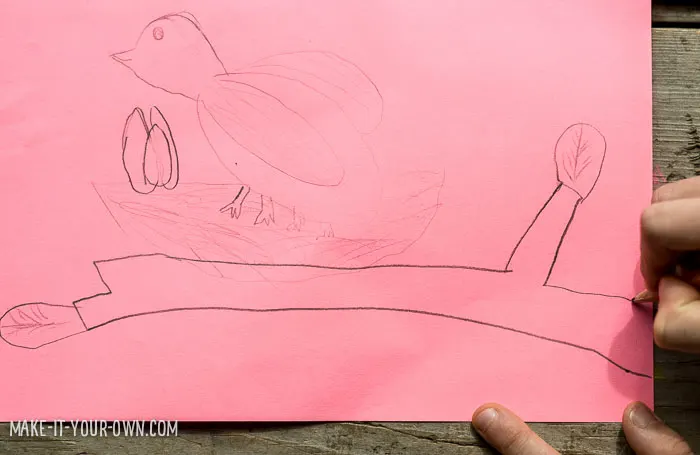
- Don your smock and prepare your clay. You may need an adult to help you a bit with kneading it until it is pliable.
- Roll out your clay with your rolling pin.
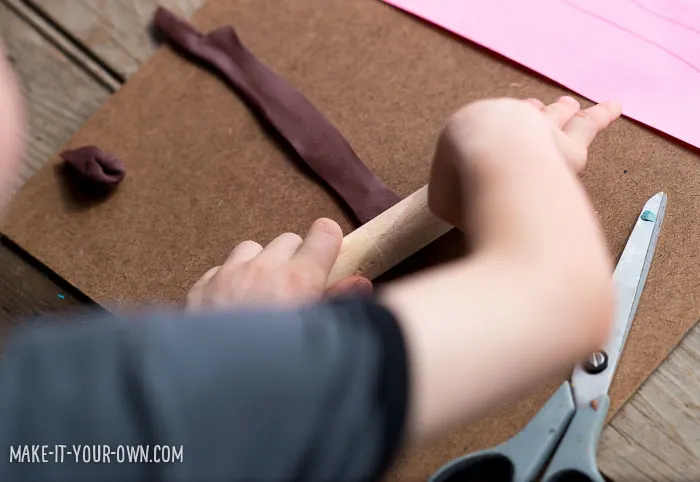
- Create your image using your clay tools, cutting away the unnecessary parts with scissors and your craft tools.
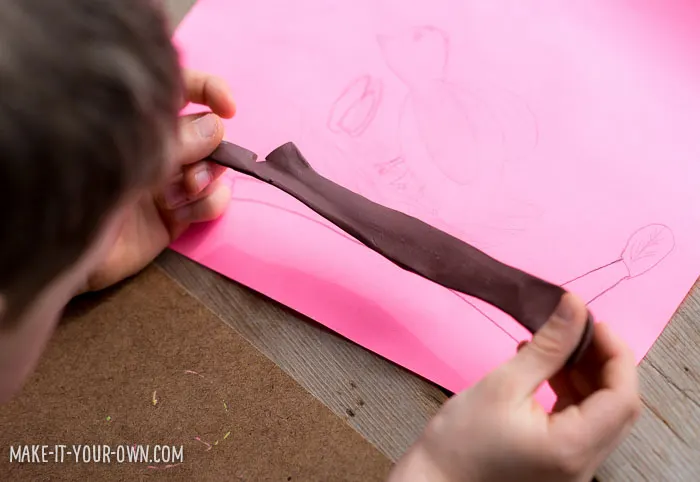
- Add layers of details, using your fingers, tools etc.
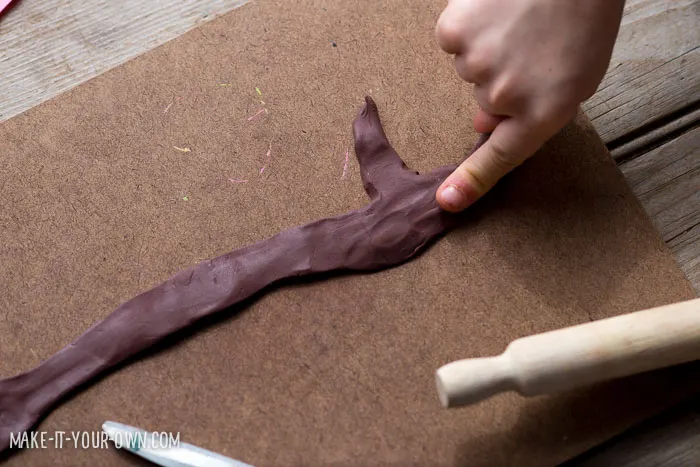
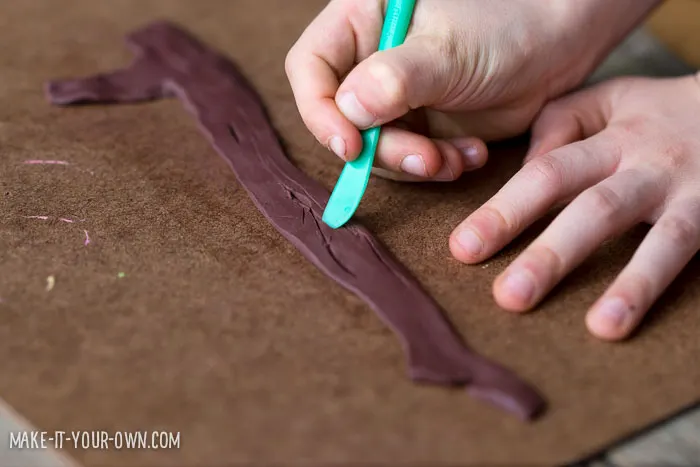
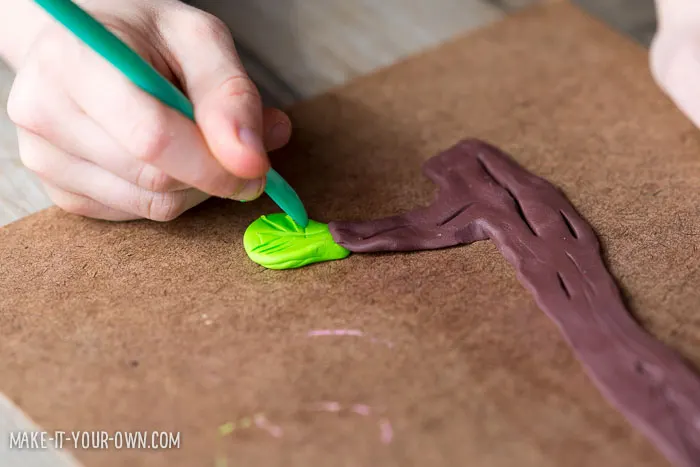
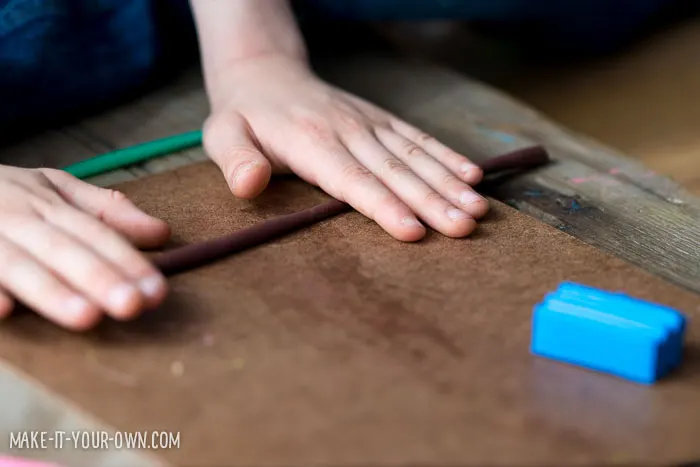
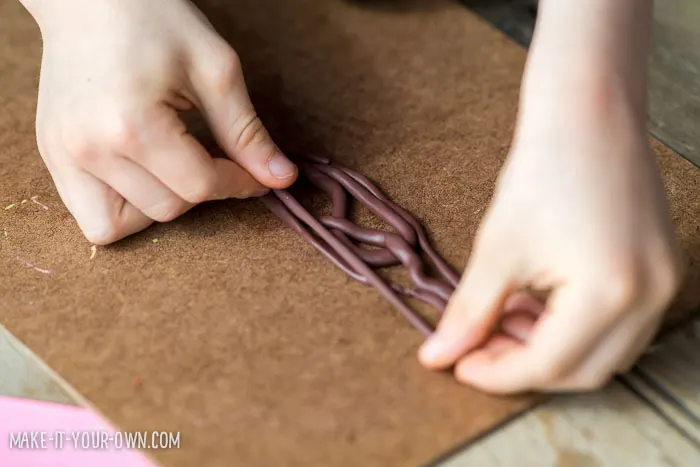
- Gently lay your pieces onto your frame to make sure that they fit/work. (We ended up using a bigger one than our original choice!) Transfer your clay onto your baking sheet.
- Follow the product directions regarding baking.
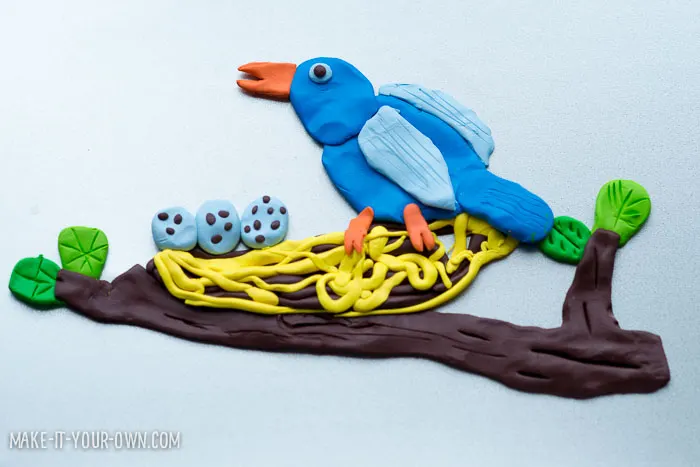
- Once cooled, have an adult glue the pieces to your frame, following the product directions.
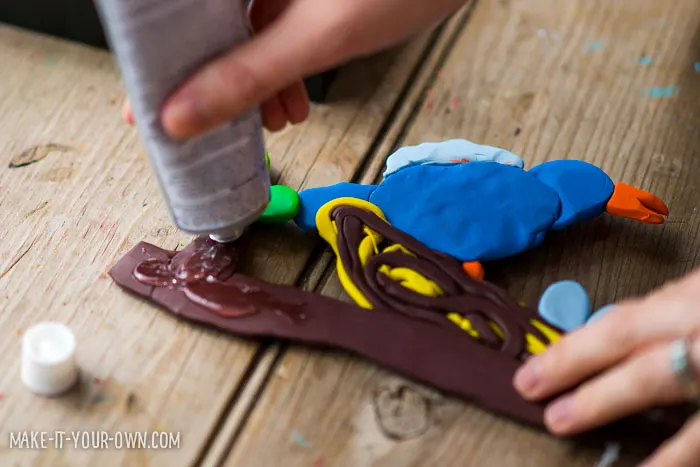
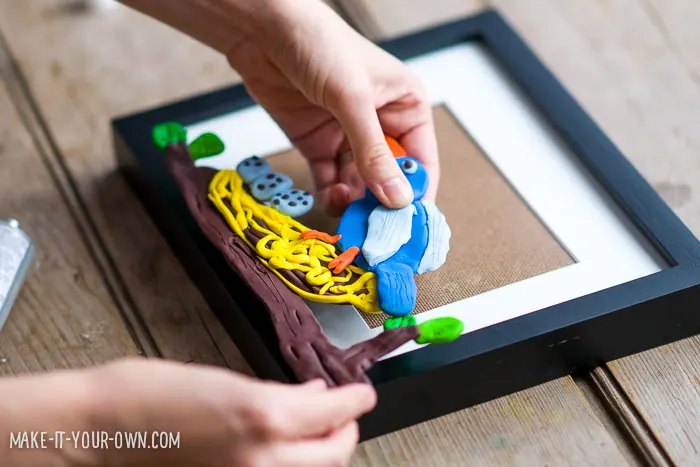
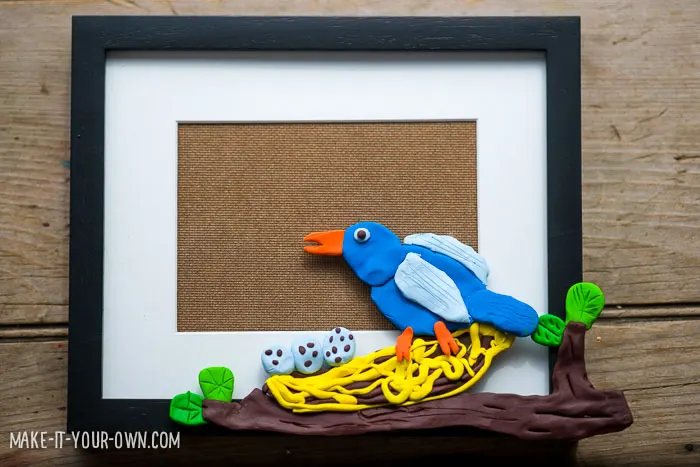
- Once it is dry, pop in a photo and display your wonderful work!
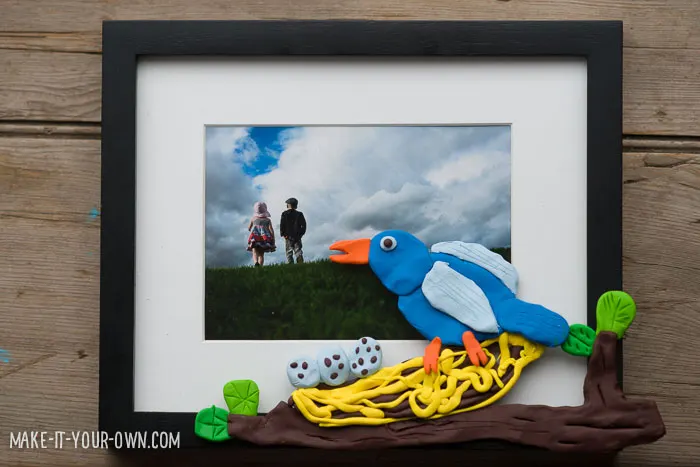
Purpose
- Working with various materials
- Developing one’s motor skills (kneading, sculpting etc.)
- Learning and experimenting with creating texture
Safety Notes
- Use scissors and clay tools with care & supervision.
- Be sure to follow the product directions, both on the clay and the glue.
- We recommend that an adult use the adhesive.