make a Model Magic Self Portrait
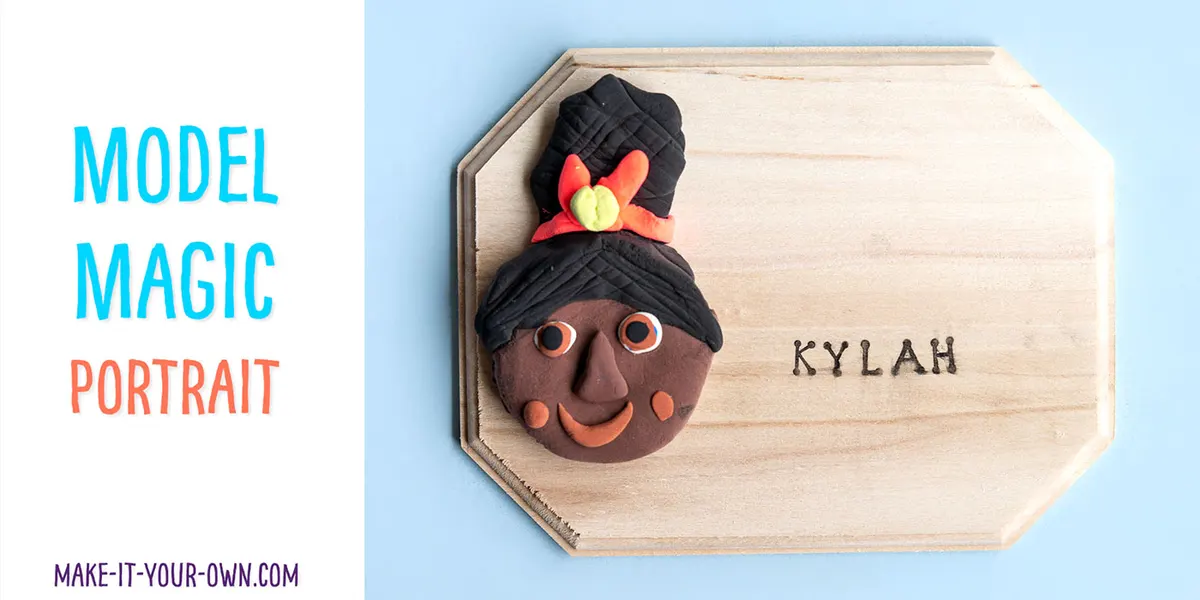
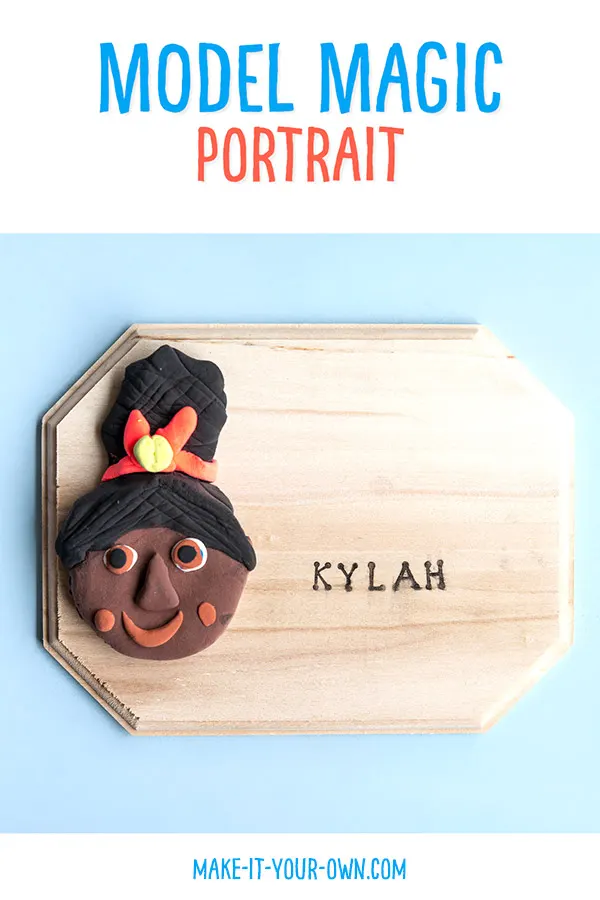
This would be a great activity for back-to-school with each child making their own face and it makes a beautiful keepsake.
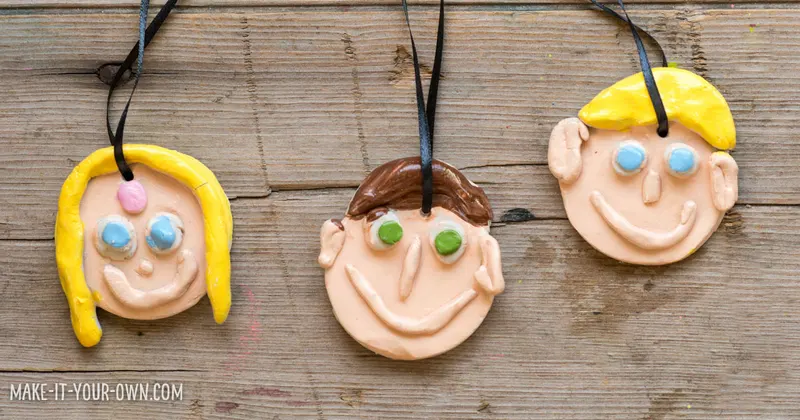
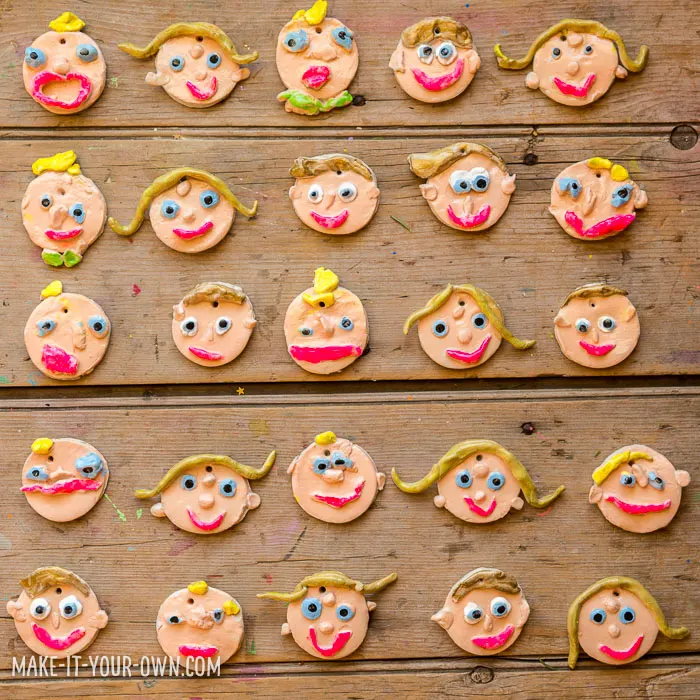
We made it based on some Christmas ornaments we made years ago:
you'll need Materials
- Wooden plaque (You can purchase these at craft stores, dollar stores or online)
- Model magic (our suggestion is to use a coupon or look for sales that happen at Michaels or other stores)
- Clay board
- Rolling pin
- Circle cookie cutter (you could also use a lid or the opening of a cup)
- Clay tools (optional)
- Drying rack
- Glue gun/ glue
- Stamps
- Ruler
- Pencil/eraser
We always find these items useful too:
Directions
- Create your face base out of model magic to match your skin tone. We did this by rolling out a piece on a board and cutting out a circle with a cutter. Older children could shape their face with their hands and/or flatten out a ball. If you don’t have a circle cookie cutter, simply use a lid or the opening of a jar.
- Add your details to create yourself in layers- what colour are your eyes, hair etc.
- Once you have made your face, allow it to dry on a cooling rack. Depending on the heat and humidity in your area, this could be overnight or longer.
- Glue your face onto your plaque and allow it to dry.
- Lightly draw a penciled line to stamp the letters of your name. Once your ink is throughly dry, you can gently erase it.
- Display yourself and it you like add a written component with this printable: unique
Variation
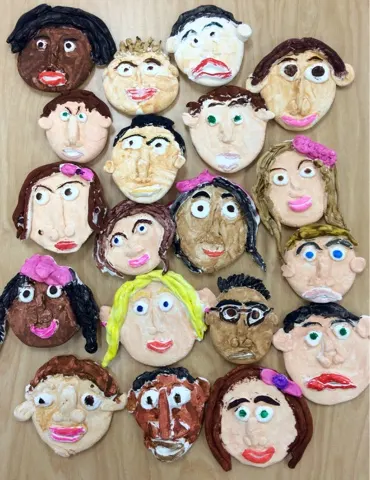
You could also do this project using white model magic and paint your creations like this one from Art with Mr. Giannetto:
https://youngschoolart.blogspot.com/2015/10/2nd-grade-clay-day.html
Purpose
- Working with different materials.
- Celebrating each person’s uniqueness.
Safety Notes
- We suggest that you use a tray and a smock to protect your clothing and surfaces.
- Use a glue gun with care and direct, adult supervision.
- Follow product directions.