Nature Finds: Branch Blooms
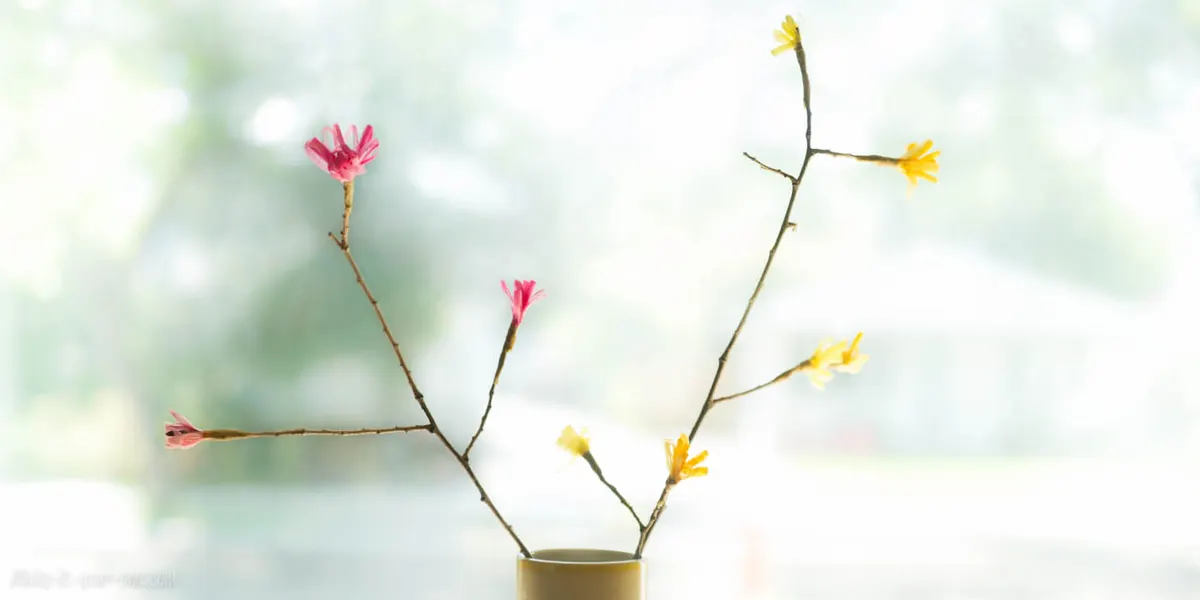
A simple bloom technique that beautifully transforms a branch.
you'll need Materials
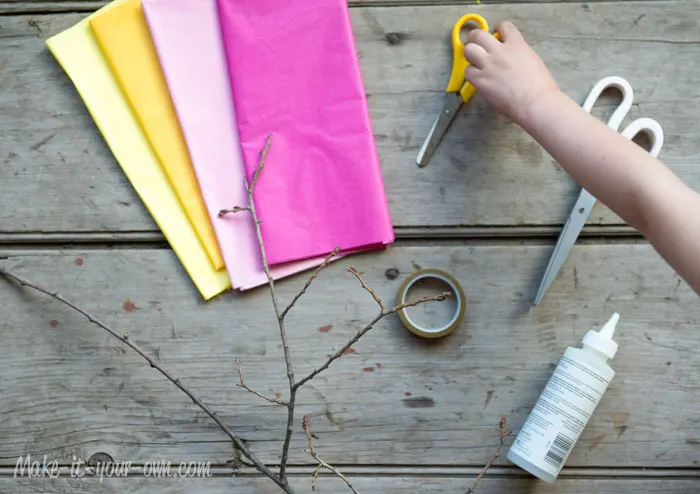
- Tissue paper (you can purchase this inexpensively at the dollar store)
- Scissors and/or fringing scissors (optional)
- Tacky glue
- Brown floral tape (optional- you can purchase this at florists, dollar stores, craft stores or online)
- Branches
Directions
- Collect fallen branches. We selected ones that were more delicate in nature.
- We bought a tissue paper “fold” which assisted in the ease of the next step. Unfold a few sheets, but leave them together. (E.g., 3 layers depending on the sharpness of your scissors).
- Cut out a strip that is about 10 centimetres (approximately 2 inches) tall and 25 centimetres long (approximately 5 inches).
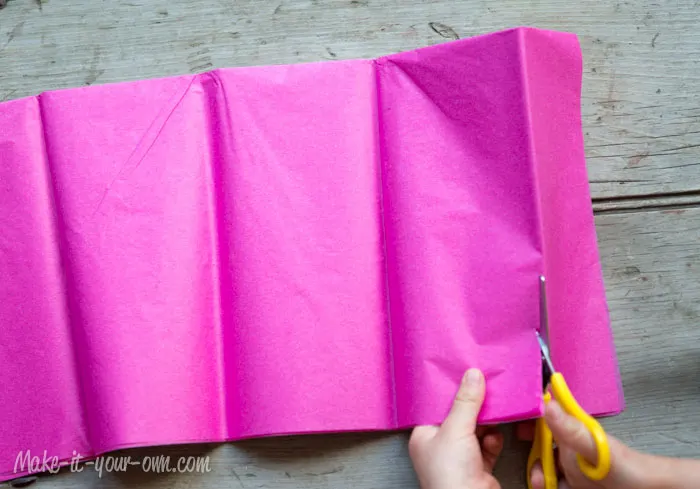
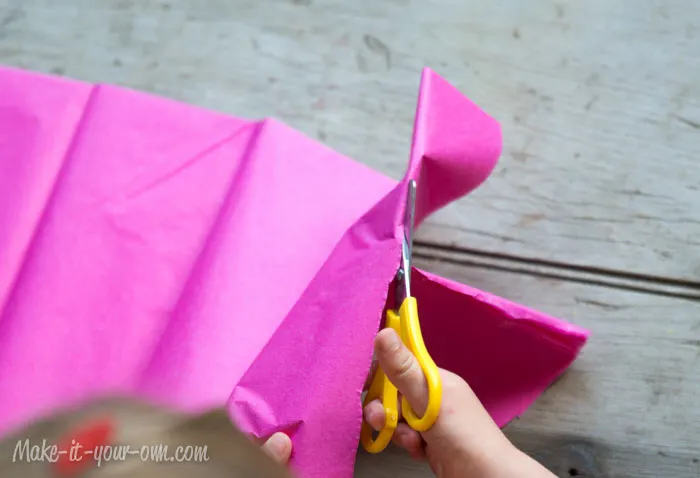
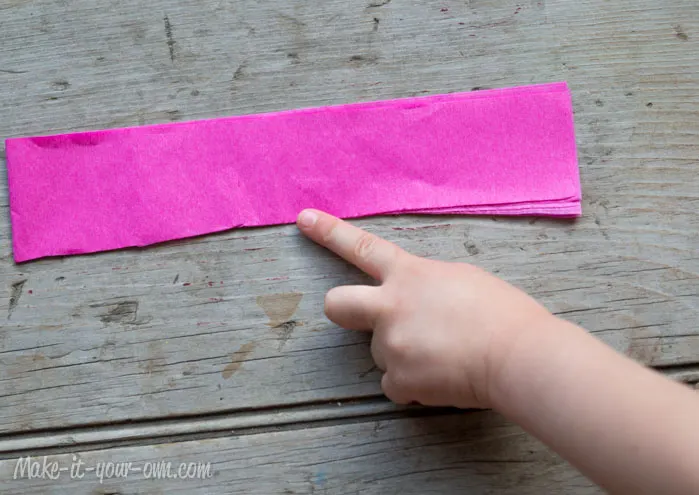
- Fold it on half longwise (see photograph). A few teachers I used to work with referred to this as a “hot dog fold” which was really easy for the kids to understand.
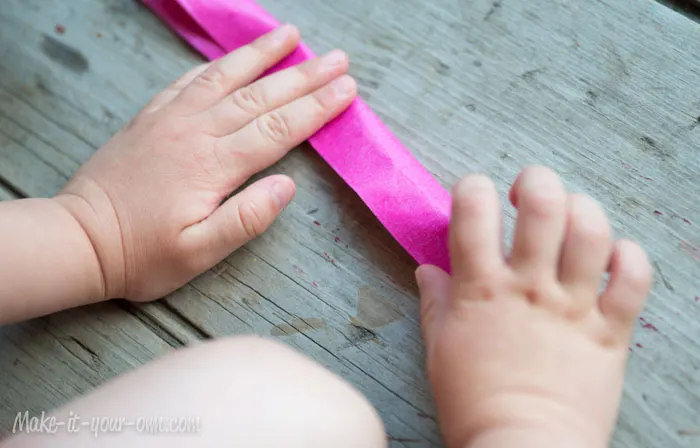
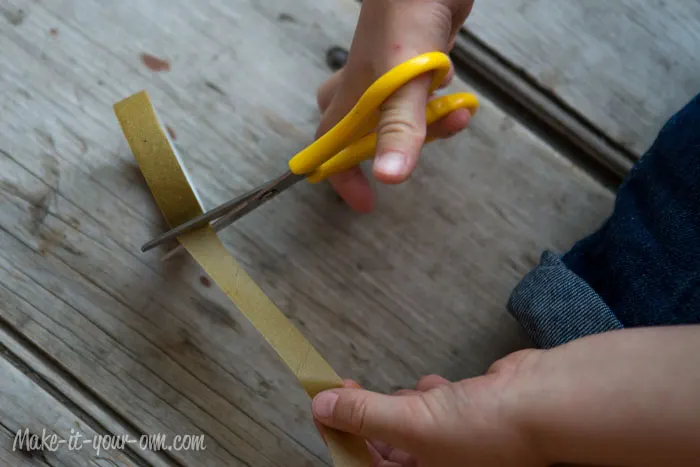
- Cut down from the fold to about the half way point with each incision being an equal distance apart (we did approximately 1/2 a centimetre apart).
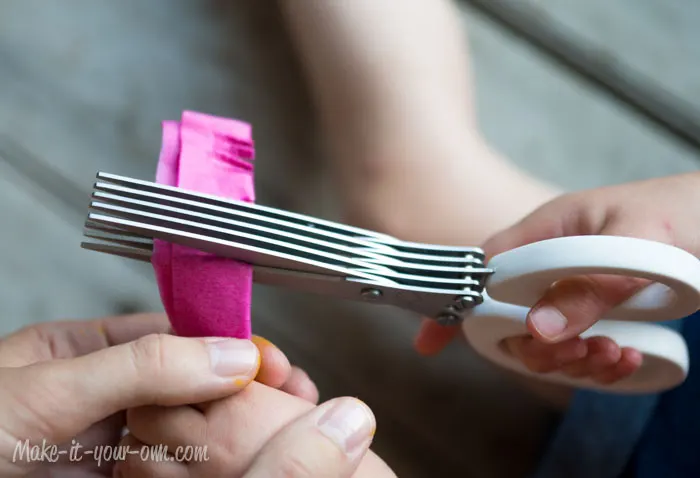
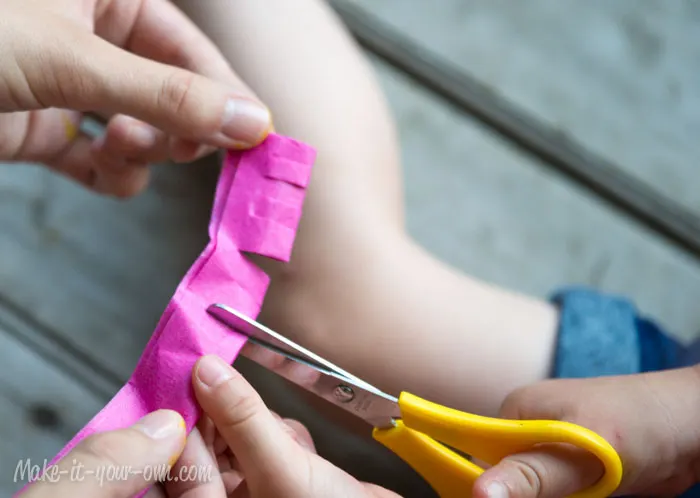
- Depending on the thickness of your branch cut your tissue paper into 2-3 sections along 2 or 3 of cuts.
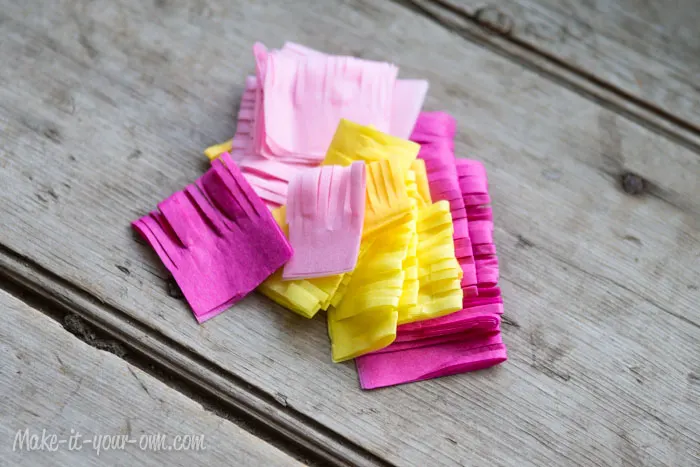
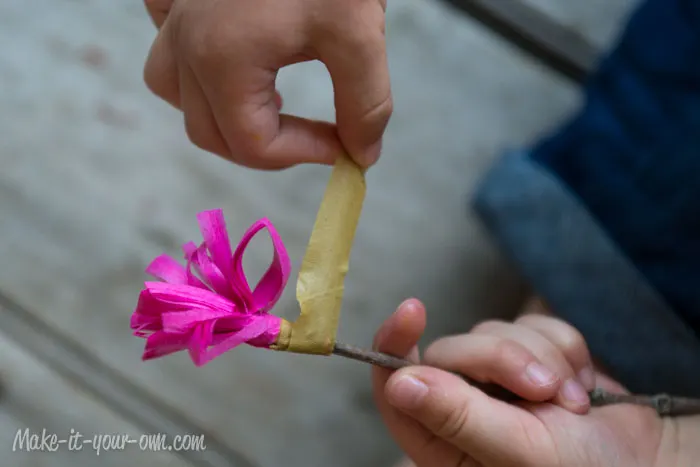
- Put a thin line of glue along the bottom of your tissue paper (where there are no cuts). Wrap it around the end of your branch gently. If you want a more full bloom, wrap it around several times.
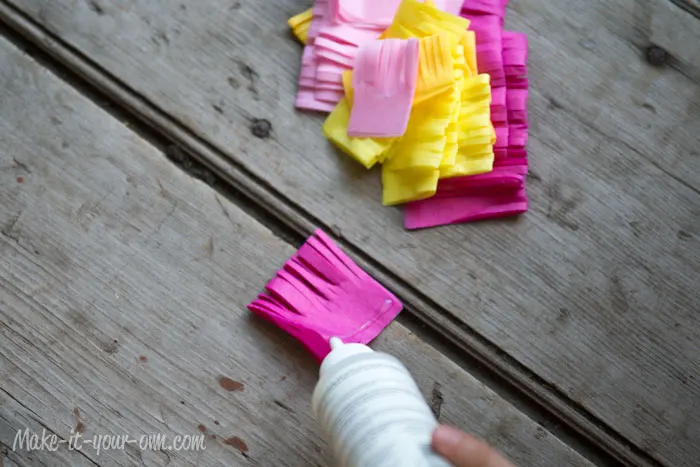
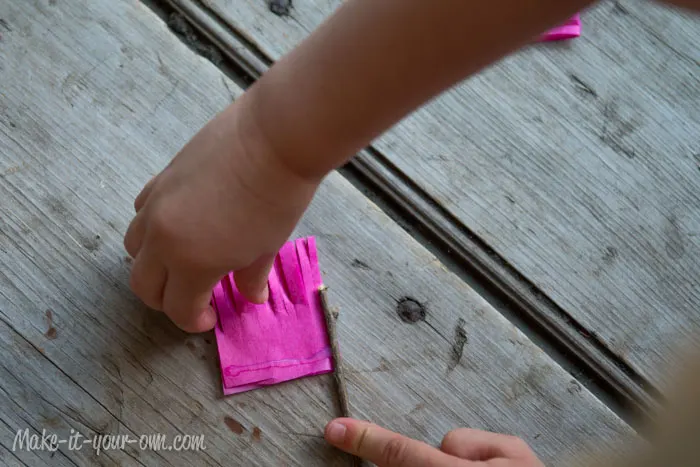
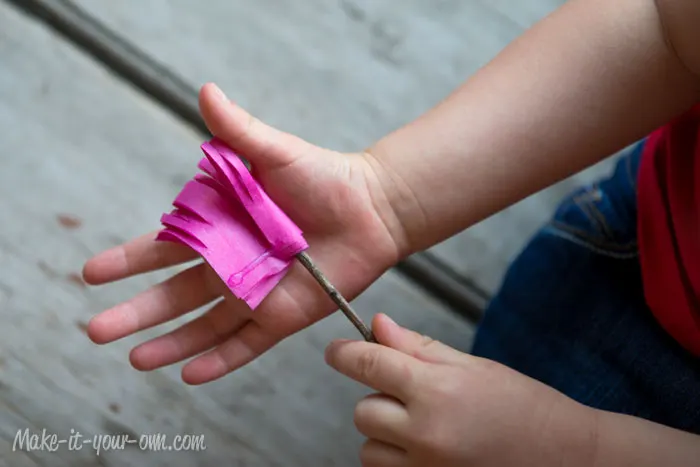
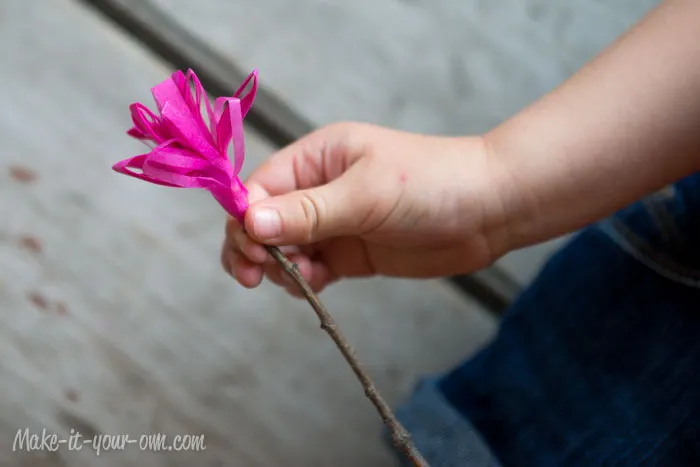
- We wrapped the bottom of the bloom with a little bit of floral tape just to firmly secure it and give it a polished finished. When using floral tape, be sure to pull it taut to activate the glue.
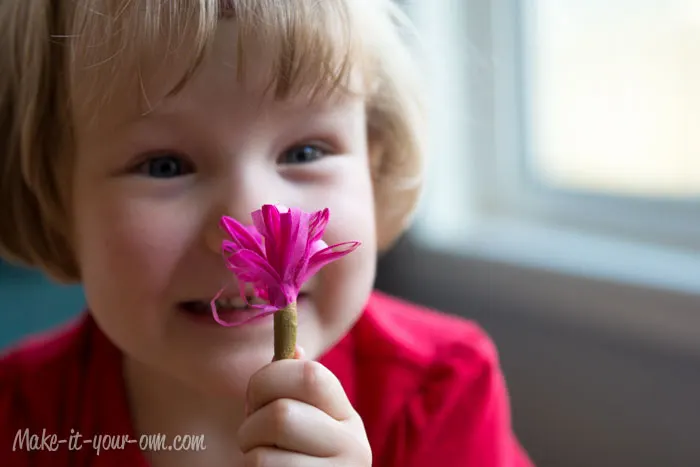
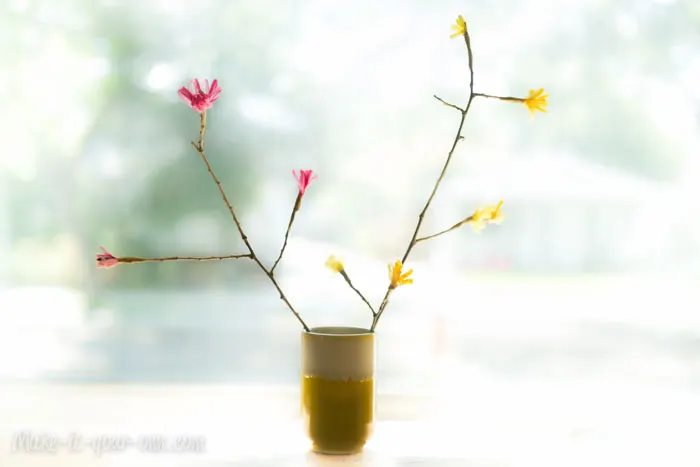
- Use your blooms to brighten up your table, a room or tie them with a ribbon to the top of a present.
Purpose
- Hand/eye coordination, fine motor skill development, scissors handling skills.
Safety Notes
- Use scissors with adult supervision.
- Be aware of other people when handling sticks.
- Follow the directions on glue products.