Back to School: Personalize your Notebook with Bubble Painting
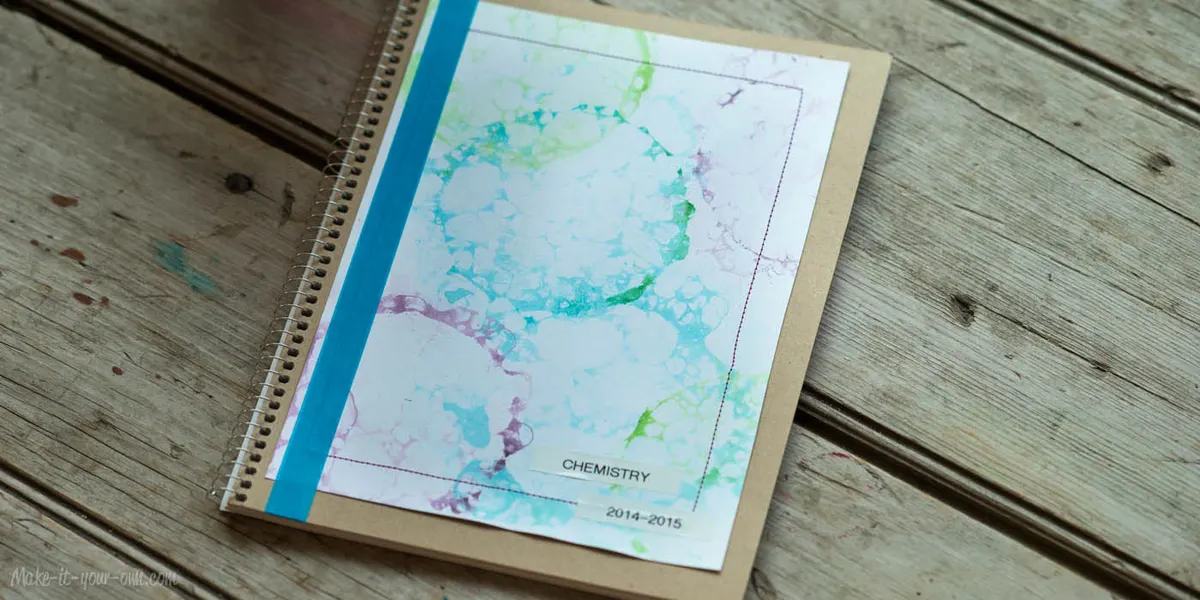
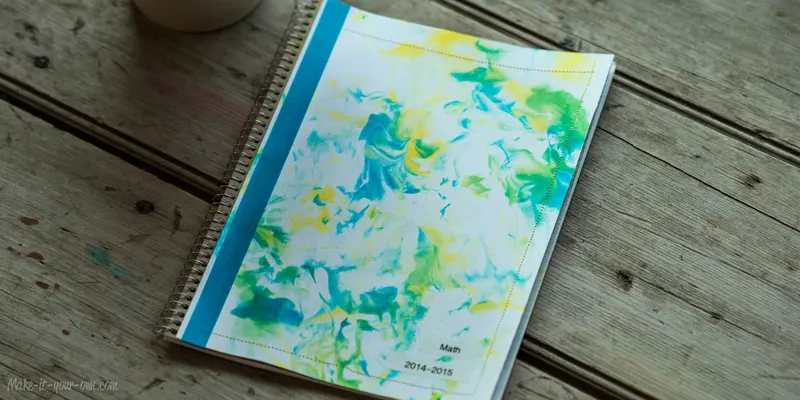
A dreamy, underwater like effect to personalize your school notebook.
you'll need Materials
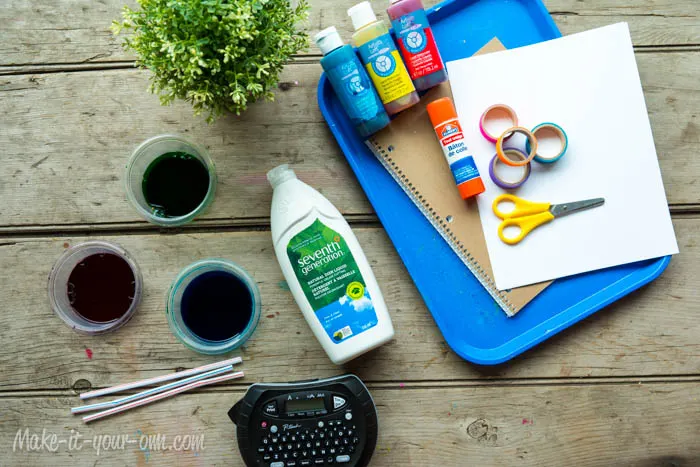
- Liquid watercolours (diluted with a bit of water)
- Liquid dish soap
- Straws
- Circular plastic containers
- Notebook
- Cardstock
- Labeller (optional)
- Glue stick
- Washi (paper) tape
- Scissors
- Smock
- Craft tray
Directions
- Before you start this activity it is a good idea to practise blowing out of your straw, rather than sucking which is usually associated with the use of straws. You may want to do this in a glass of water. This helps prevent your child from sucking in the bubble mixture accidentally!
- Don your smock.
- Put a few centimetres of water into your containers and add your liquid watercolours.
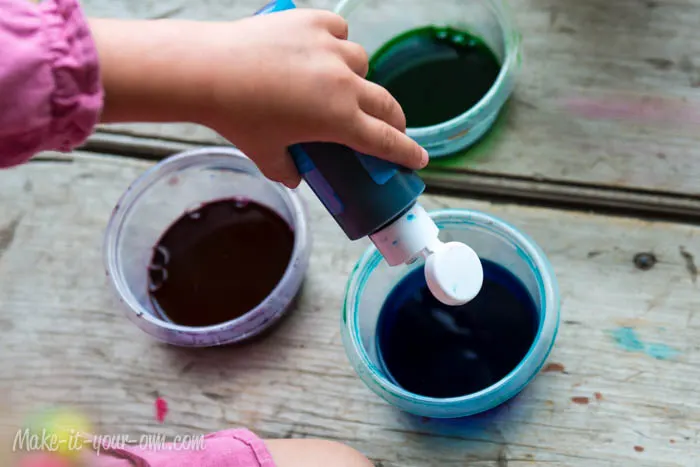
- Add about 1 tablespoon of liquid dish soap to each of your paint mixtures.
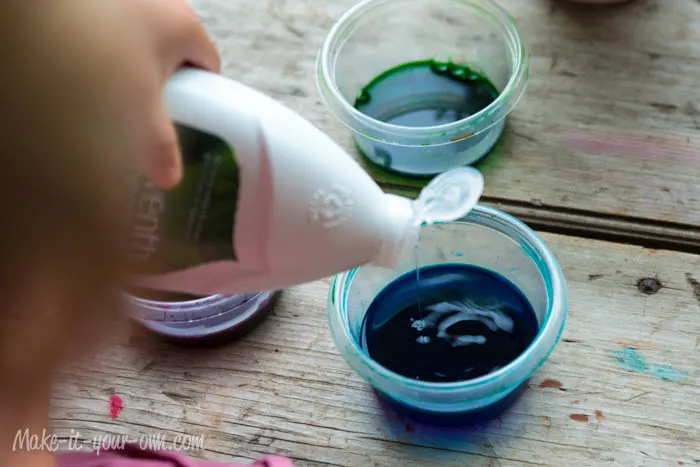
- Stir the mixture throughly.
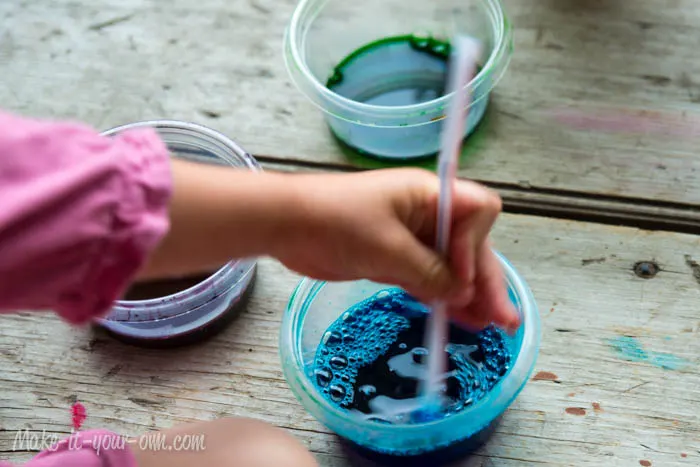
- Place your bubble mixture on your craft tray. Blow your bubbles up over the lip of the container (not overflowing, however.)
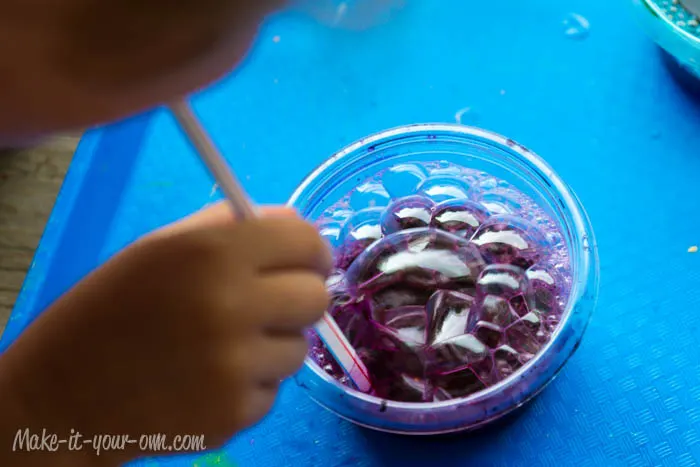
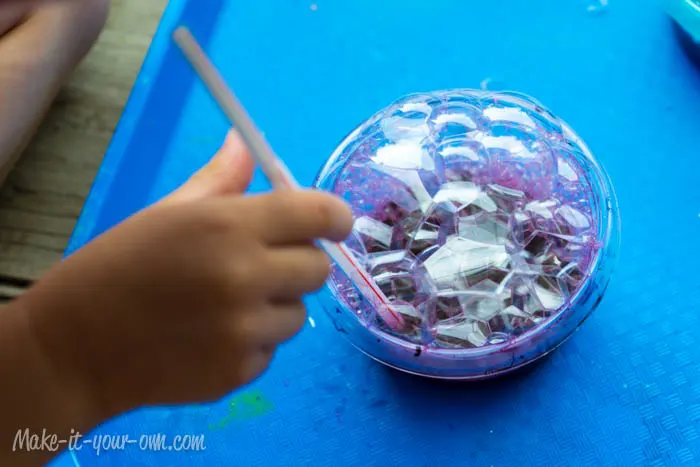
- Gently put your paper on top of the container.
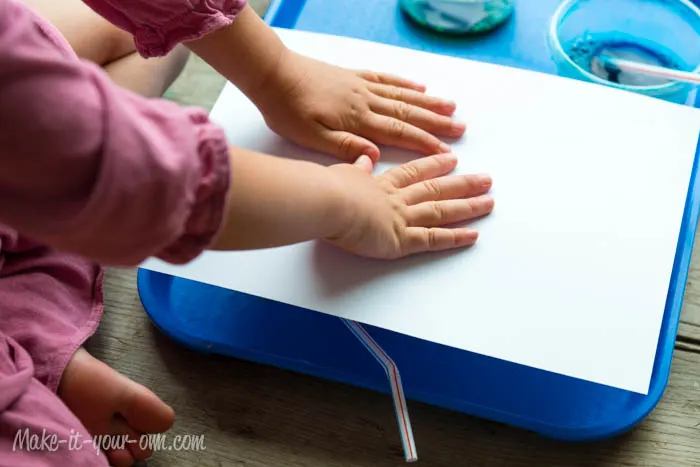
- Lift off your paper carefully and repeat with different colours. You can overlap or go off the edges of the paper for different looks.
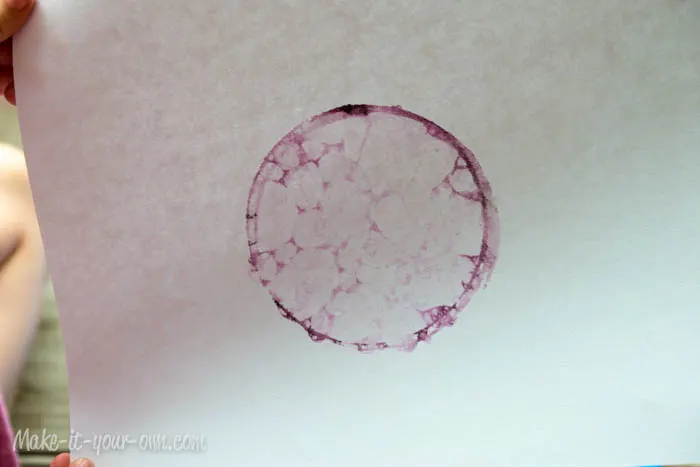
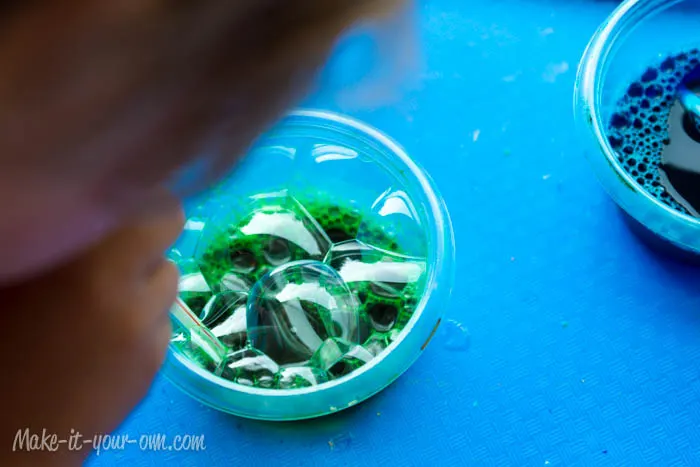
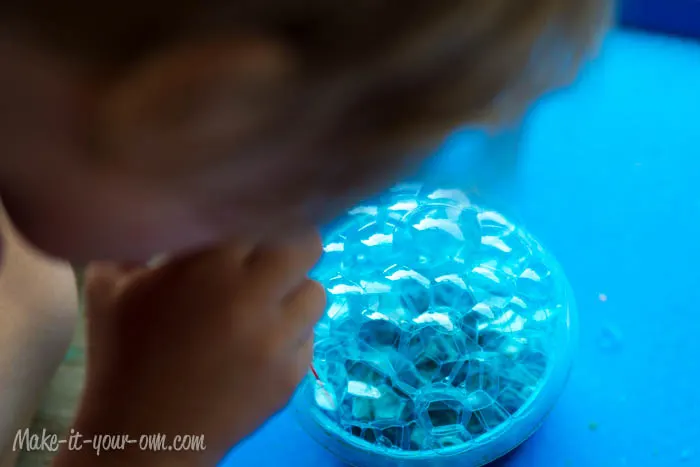
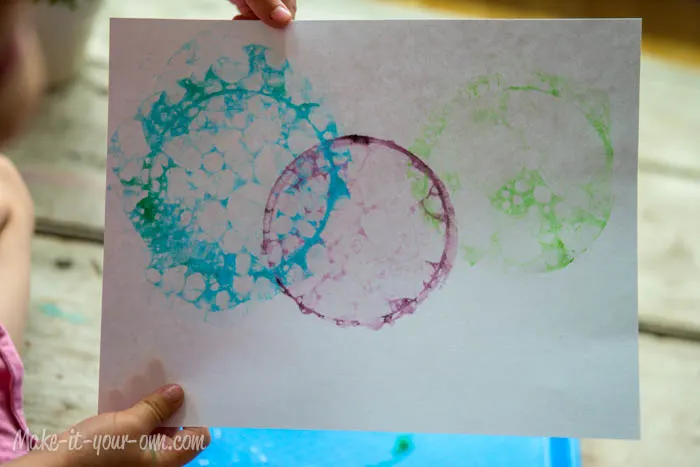
- Allow your project to dry overnight.
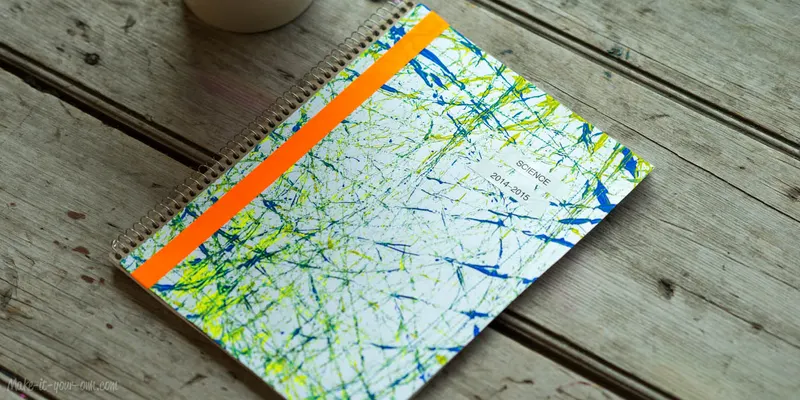
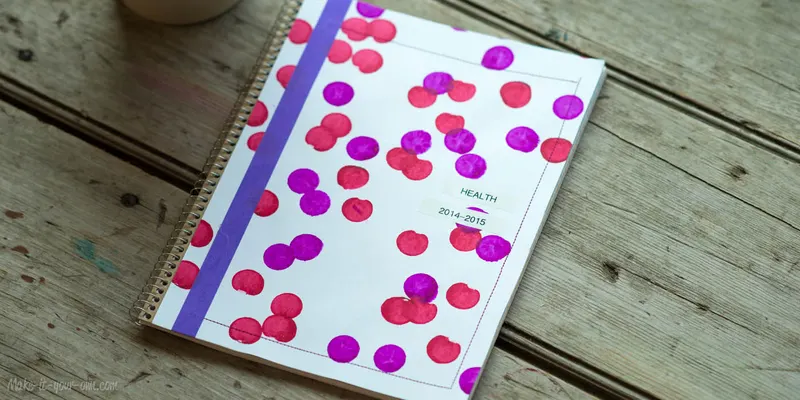
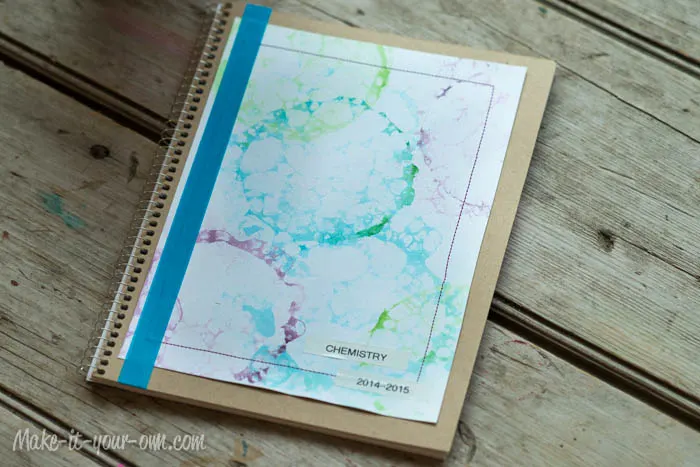
- Glue it to your notebook cover and cut off any excess edges. (Flip to the inside to make this easy, using the cover as your cutting line.)
- We sewed around the edges to create a bit of detail and then added some Washi tape as well.
- Label with the class, year and your name.
Purpose
- Getting engaged in the back to school process.
- Exploring different techniques.
Safety Notes
- As mentioned, go over blowing, rather than sucking with the straw, prior to starting the activity. This is not an activity for children 0-3 or who may have trouble with this.
- Use scissors with care.
- Be sure to wear a smock and use a craft tray to protect your clothes and surfaces.
- A sewing machine is recommended for adult use or with direct supervision depending on your child’s age and abilities.