make a Gift Crate
This article was originally published for The Purple Figa Canadian Blogazine which contributes to both The Huffington Post and *Parent Dish.*Check it out!

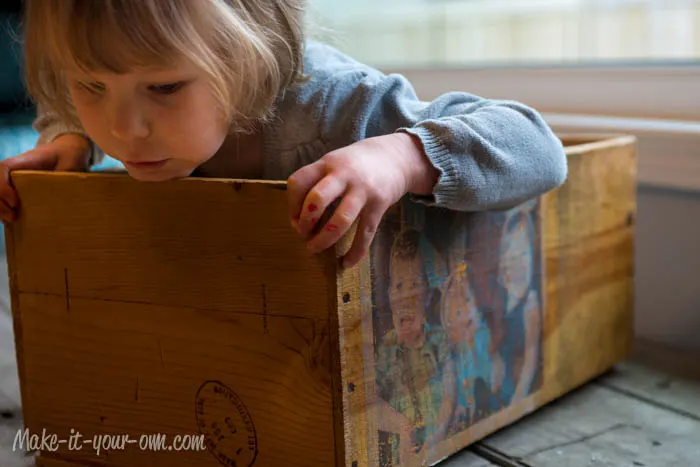
This is an easy way to personalize a crate or box to fill with things that your dad may enjoy!
you'll need Materials
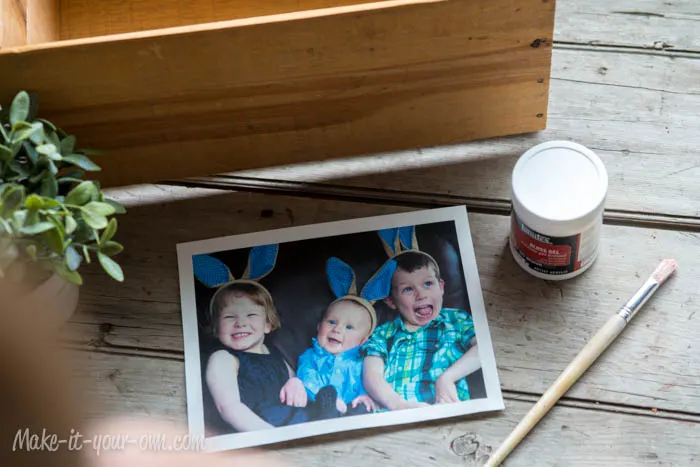
- Wooden crate or cardboard box
- Image of a photograph printed on paper (we had success with an ink jet, but depending on your surface you might find a photocopy or laser image easier, we recommend trying a smaller test image in the inside of the crate, prior to your final choice)
- Gloss gel medium (We used Liquitex, purchased at an Art Store)
- Paintbrush
- sandpaper (optional)
- Damp rag
Directions
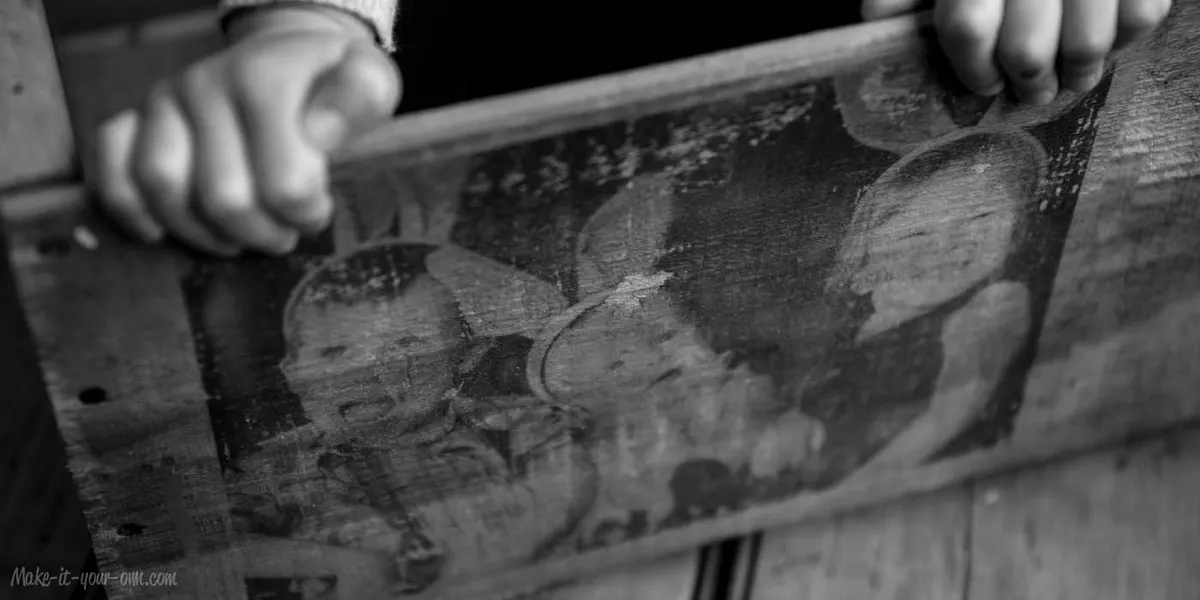
- For this activity get a crate (we re-used an old apple box which you can pick up at garage sales, antique stores etc.) or cardboard box to put in a present for your dad. Not only does it serve as a gift holder for items, but it can be kept as a keepsake. We wanted ours to have a vintage or aged feeling.
- If you want a smooth finish, sand the area where you would like to put your image.
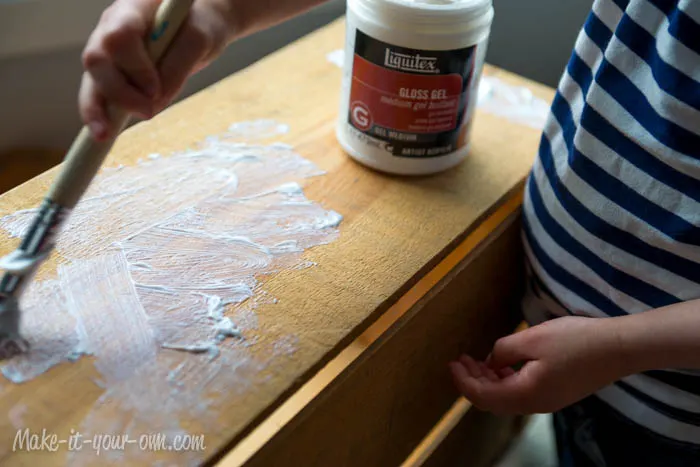
- Paint the side of the crate where you would like to put on the image with a generous coat of the gel medium.
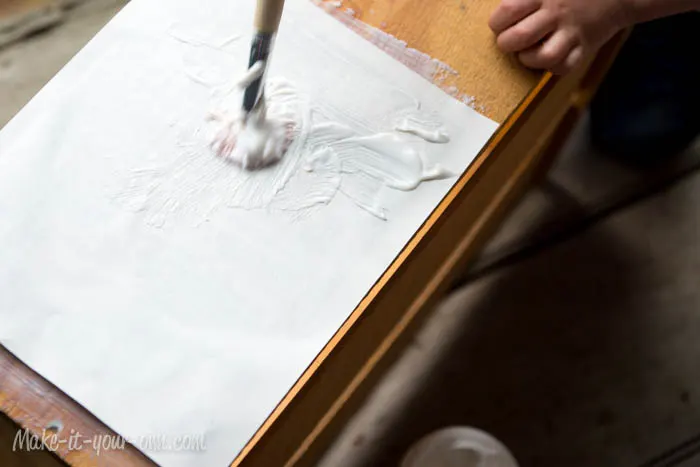
- Put the image that you printed onto the gel medium (make sure that it is not upside down) so that the white/ blank side is facing you. Be sure to rub out any wrinkles/ bubbles. Cover with another coat of the gel medium. Let dry overnight.
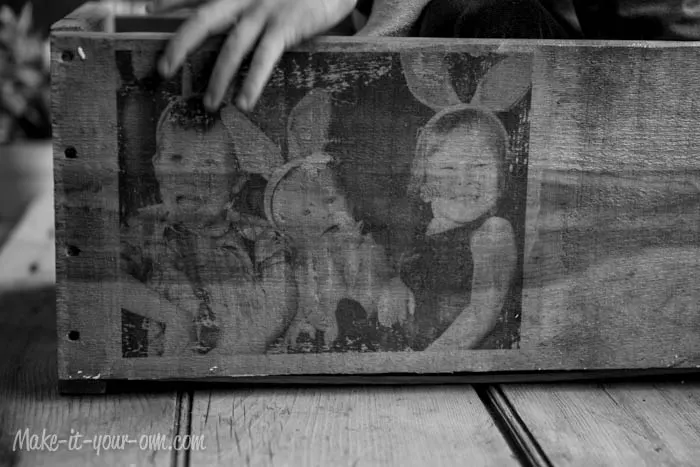
- Gently, with your damp rag, rub off the paper. If you want it to look aged, rub more vigorously in some areas or sand it when it has dried.
- Once it has completely dried, paint it with a thin coat of the gel.
Purpose
- Understanding that an image can be transferred.
Safety Notes
- Follow the directions on the product chosen. Discard rag after use.